Helm 101: A Beginner's Guide to Efficient Cluster Management with Hands-On Examples
Package manager for Kubernetes

Yash is currently working as a Software Engineer Intern at Chainguard, specializing in securing software supply chains. He is an AWS Community Builder and CNCF Ambassador. Yash is an active contributor to CNCF projects and open-source initiatives. His expertise includes Kubernetes, security, and DevOps automation.
Helm is one of the most essential tools for Kubernetes.
What is Helm?
Helm is a package manager for Kubernetes that allows for easy installation and management of apps and services on a cluster. It uses a packaging format called charts, which are collections of files that describe the resources needed for an application, such as deployments, services, and configmaps. Helm allows for easy rollbacks, versioning, and management of dependencies between applications, making it a useful tool for managing the complexity of deployments on a Kubernetes cluster.
Benefits of using Helm?
One of the main benefits of using Helm is that it allows for easy installation and management of third-party applications. Instead of manually creating and managing Kubernetes resources, Helm allows users to simply install a package and all the necessary resources will be created for them. This can greatly simplify the process of deploying complex applications.
Another benefit of Helm is that it allows for easy versioning and rollbacks. Each package installed with Helm is versioned, and users can easily roll back to a previous version if there are issues with the current version. This can be especially useful when dealing with production environments.
Components of Helm:
Let's get familiar with the components in Helm, their general structure, and the concepts that we are going to be working with it
Helm Client: This is the command-line interface (CLI) that users interact with to manage their Helm charts and deployments. It is responsible for communicating with the Helm Tiller (discussed below) and managing the lifecycle of Helm charts.
Helm Tiller: This is the server-side component of Helm that runs inside the Kubernetes cluster. It communicates with the Kubernetes API server to manage the lifecycle of Helm releases, which are deployed versions of Helm charts.
Charts: A chart is a package that contains all the necessary resources and configuration to deploy an application on a Kubernetes cluster. It can be considered sets as Bundles of YAML files. It is written in YAML and can include resources such as pods, services, and ingresses.
Chart Repository: This is a collection of Helm charts that can be shared and reused among users. These repositories can be either public or private and can be hosted on a variety of platforms including GitHub.
Helm Release: A release is a deployed version of a Helm chart. A release includes the chart, the configuration options that were used during the deployment, and the current status of the deployment.
Templates: Helm charts use Go templates to define the Kubernetes resources that are created when the chart is installed. These templates allow for easy customization of resources and can be used to generate the final Kubernetes manifests that are applied to the cluster.
Values: Helm charts can also include a values.yaml file that allows users to provide configuration options for the chart. These values are passed to the templates to generate the final manifests.
Helm is composed of a client and server-side component, chart repositories, charts, releases, templates, and values. These components work together to simplify the process of deploying and managing applications on a Kubernetes cluster.
How to use Helm to deploy helm charts in Kubernetes?
We use Helm to install, update or roll back Kubernetes applications this can simplify complicated application deployments into a single command.
Let's say you want to install Prometheus into your Kubernetes cluster for monitoring now Prometheus is made up of many different components such as push gateways, the alert manager, and the Prometheus server itself so you could write your own manifest files to define all the different components to host Prometheus and Kubernetes but this would include writing and managing many different manifests for the different components such as the Pod, deployments, config Maps, secrets, and services. If you were to start from scratch this would be an incredible amount of work and that's why Helm was developed. By making use of Helm charts we can install the application in a single Helm install command.
The first thing is to actually install the helm CLI utility so by far the easiest way to install Helm is just using Homebrew (mac OS).
brew install helmOnce you have it installed you'll want to do a Helm version
helm versionSo once you have Helm installed you can start deploying Kubernetes applications. The first thing you want to do is you need to find an actual package to use which can be found on artifacthub.io
helm repo add <name> <repo URL>helm repo add prometheus-communityhttps://prometheus-community.github.io/helm-charts
Repo gets added to the helm list you can check it by using CMD
helm repo list
Now we can install the helm chart
helm install <userchoice-name> prometheus-community/prometheus --version 19.3.3helm install my-prometheus prometheus-community/prometheus --version 19.3.3Some pic and more cmd

Now we can have access to Prometheus in our
Localhost:9090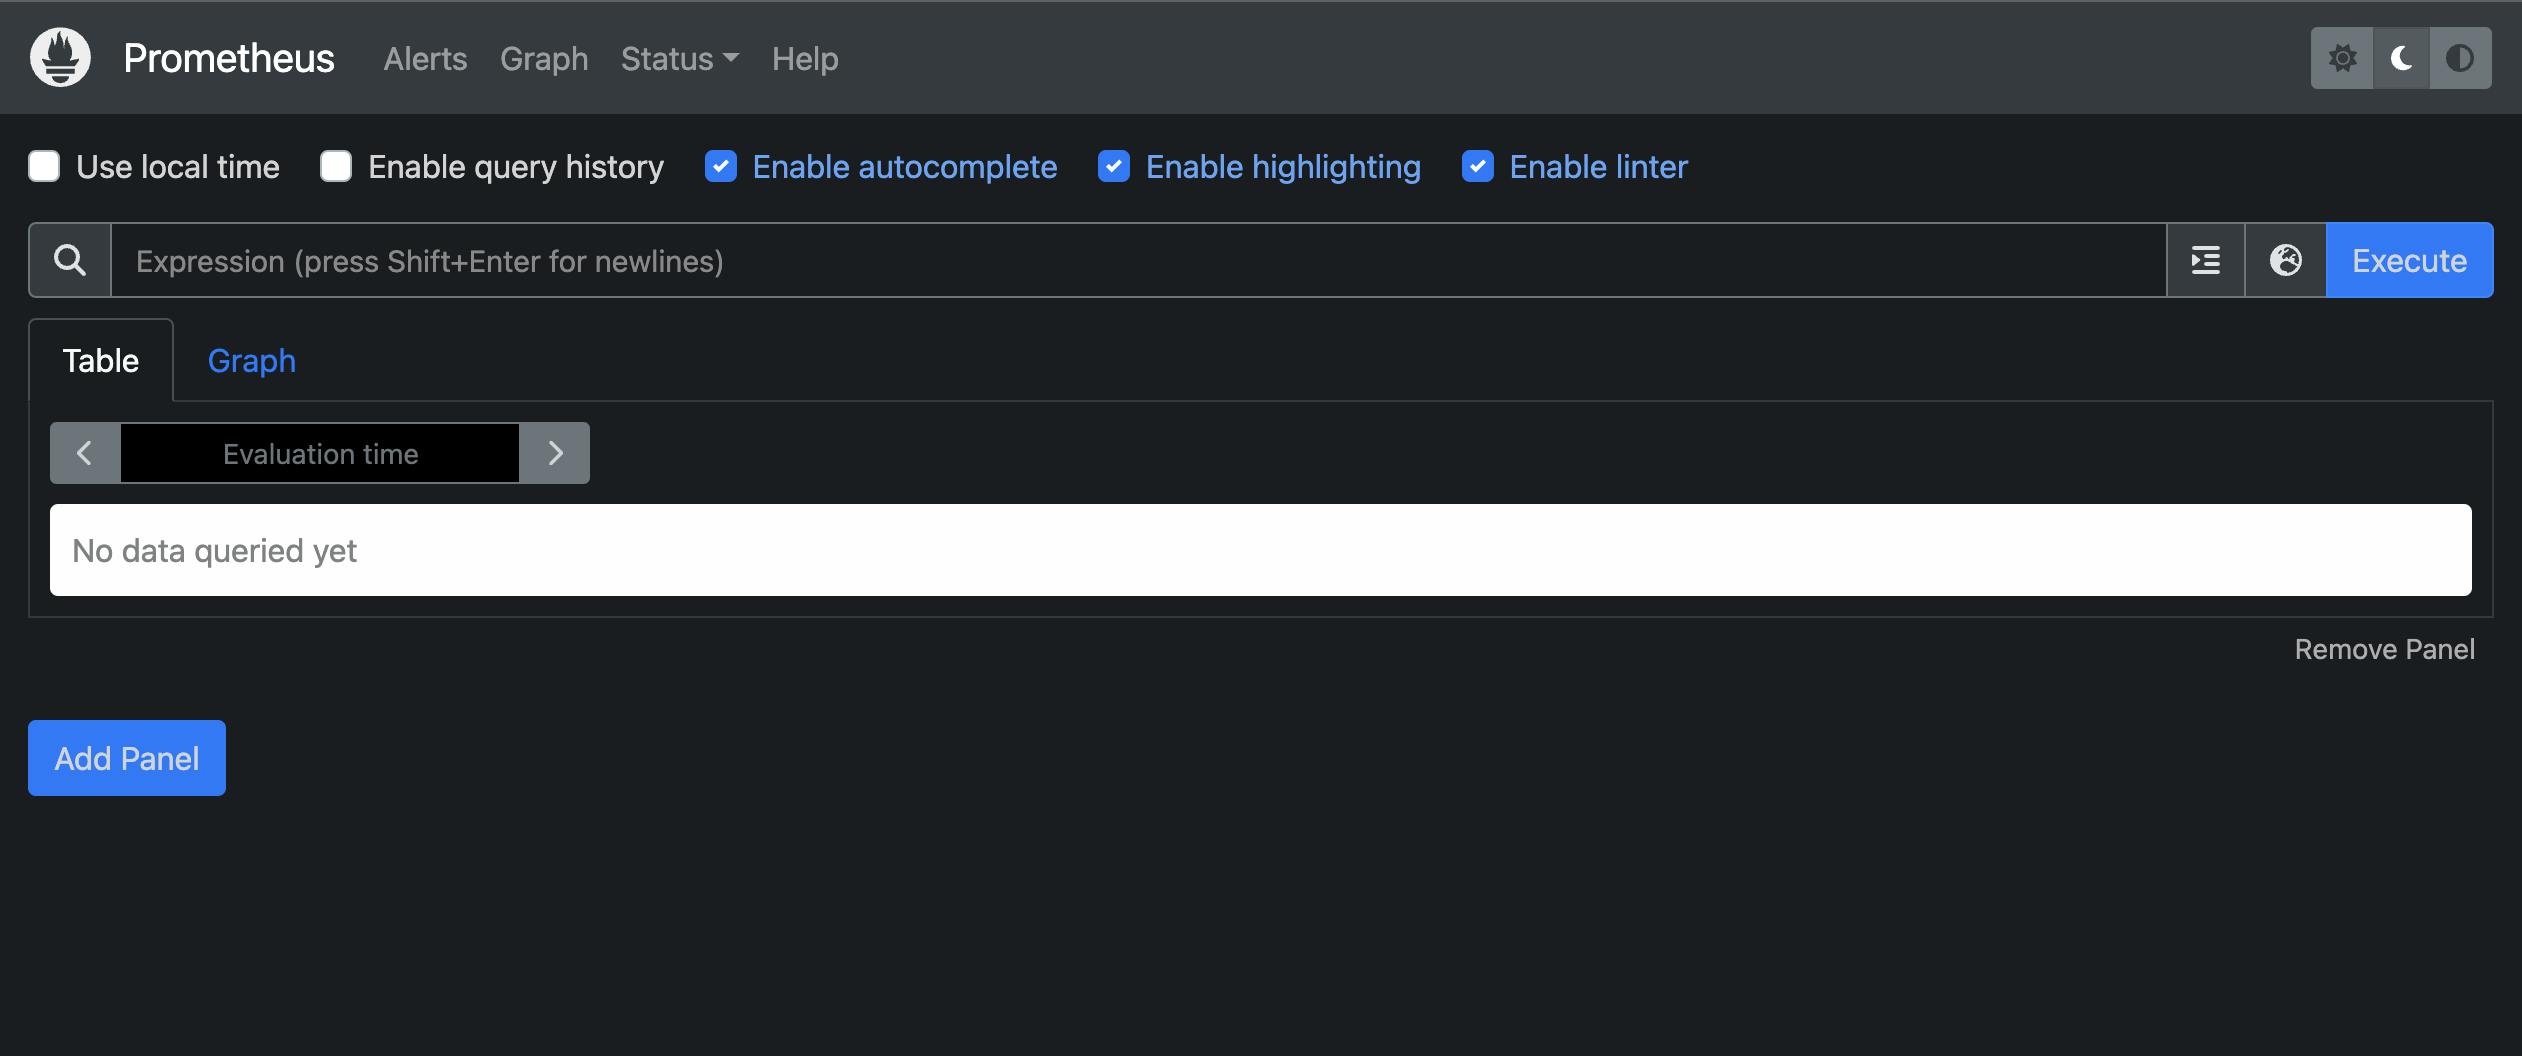
Now Let's have a look at our Kubernetes cluster to see all the resources that it actually deployed.
kubectl get all
We can also list all the namespace from the helm side and we can also check the status of our helm cluster using
helm ls --all-namespaceshelm status my-prometheus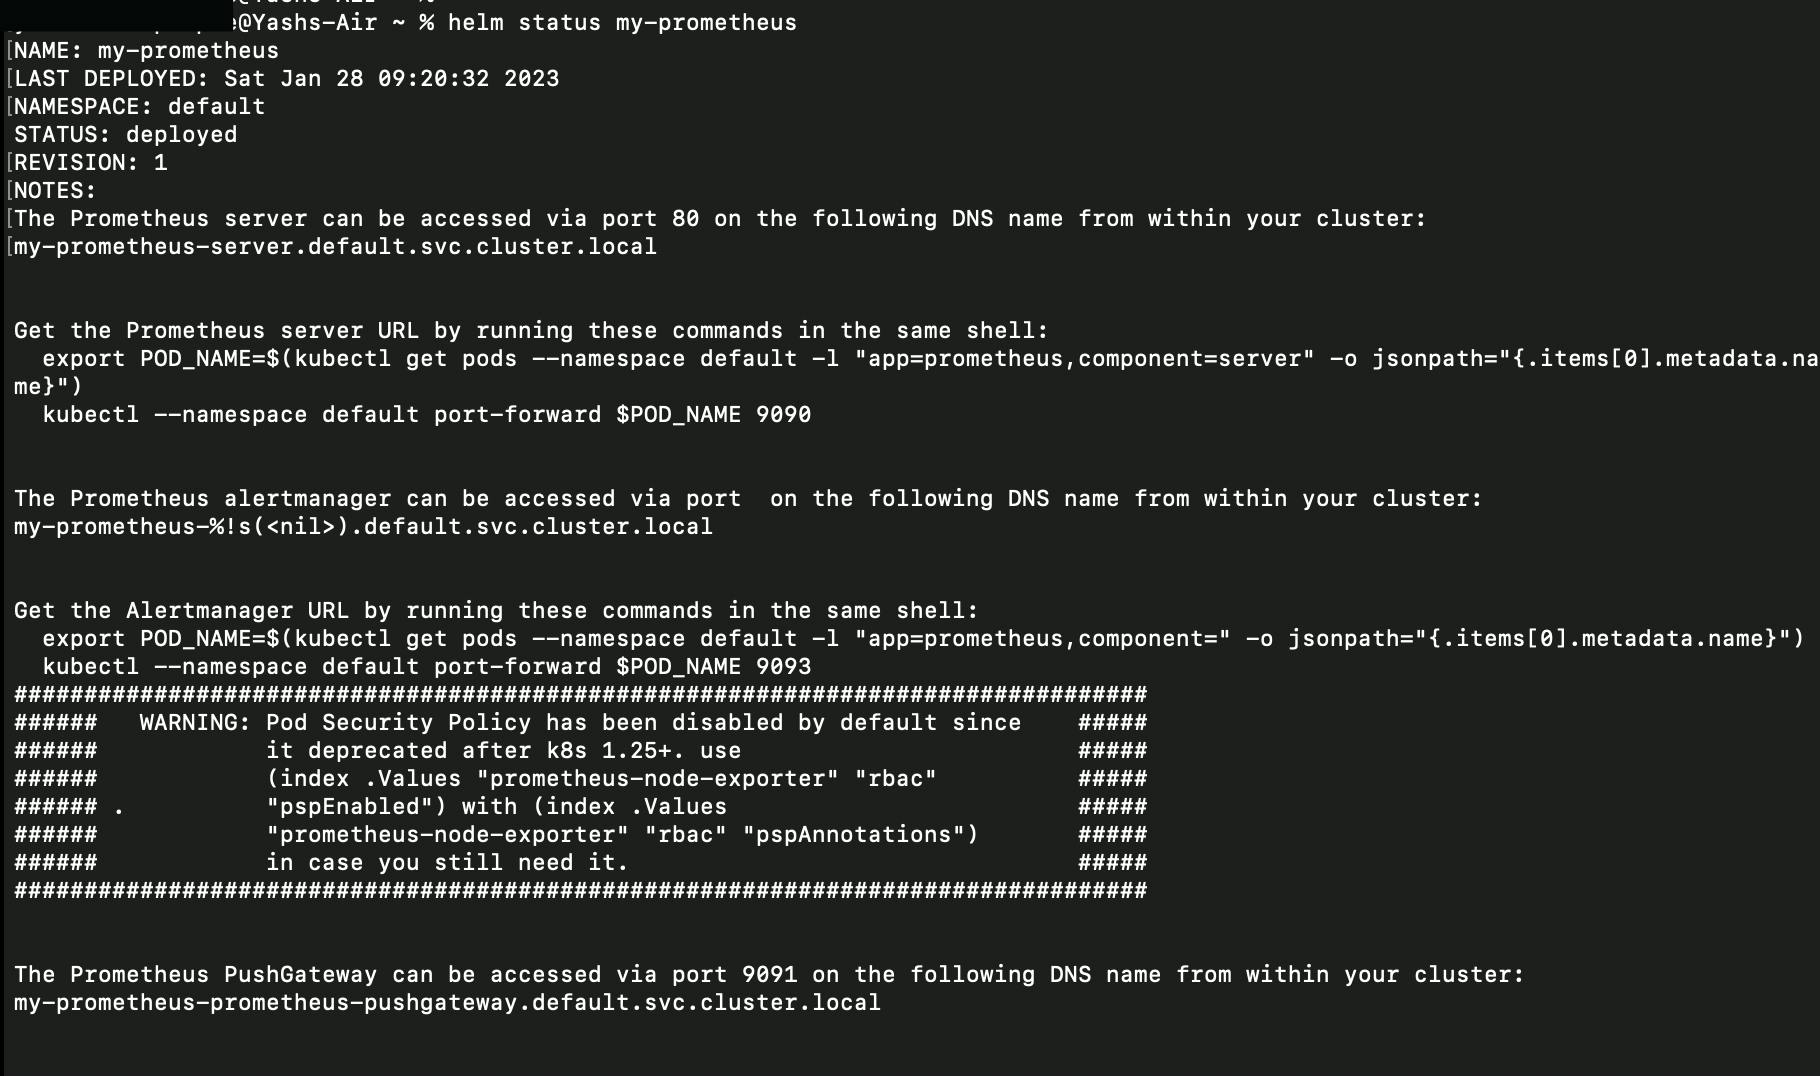
We can also run Prometheus on the dev environment using CMD
helm install my-prometheus-dev prometheus-community/prometheus --version 19.3.3 --namespace devhelm ls --all namespaces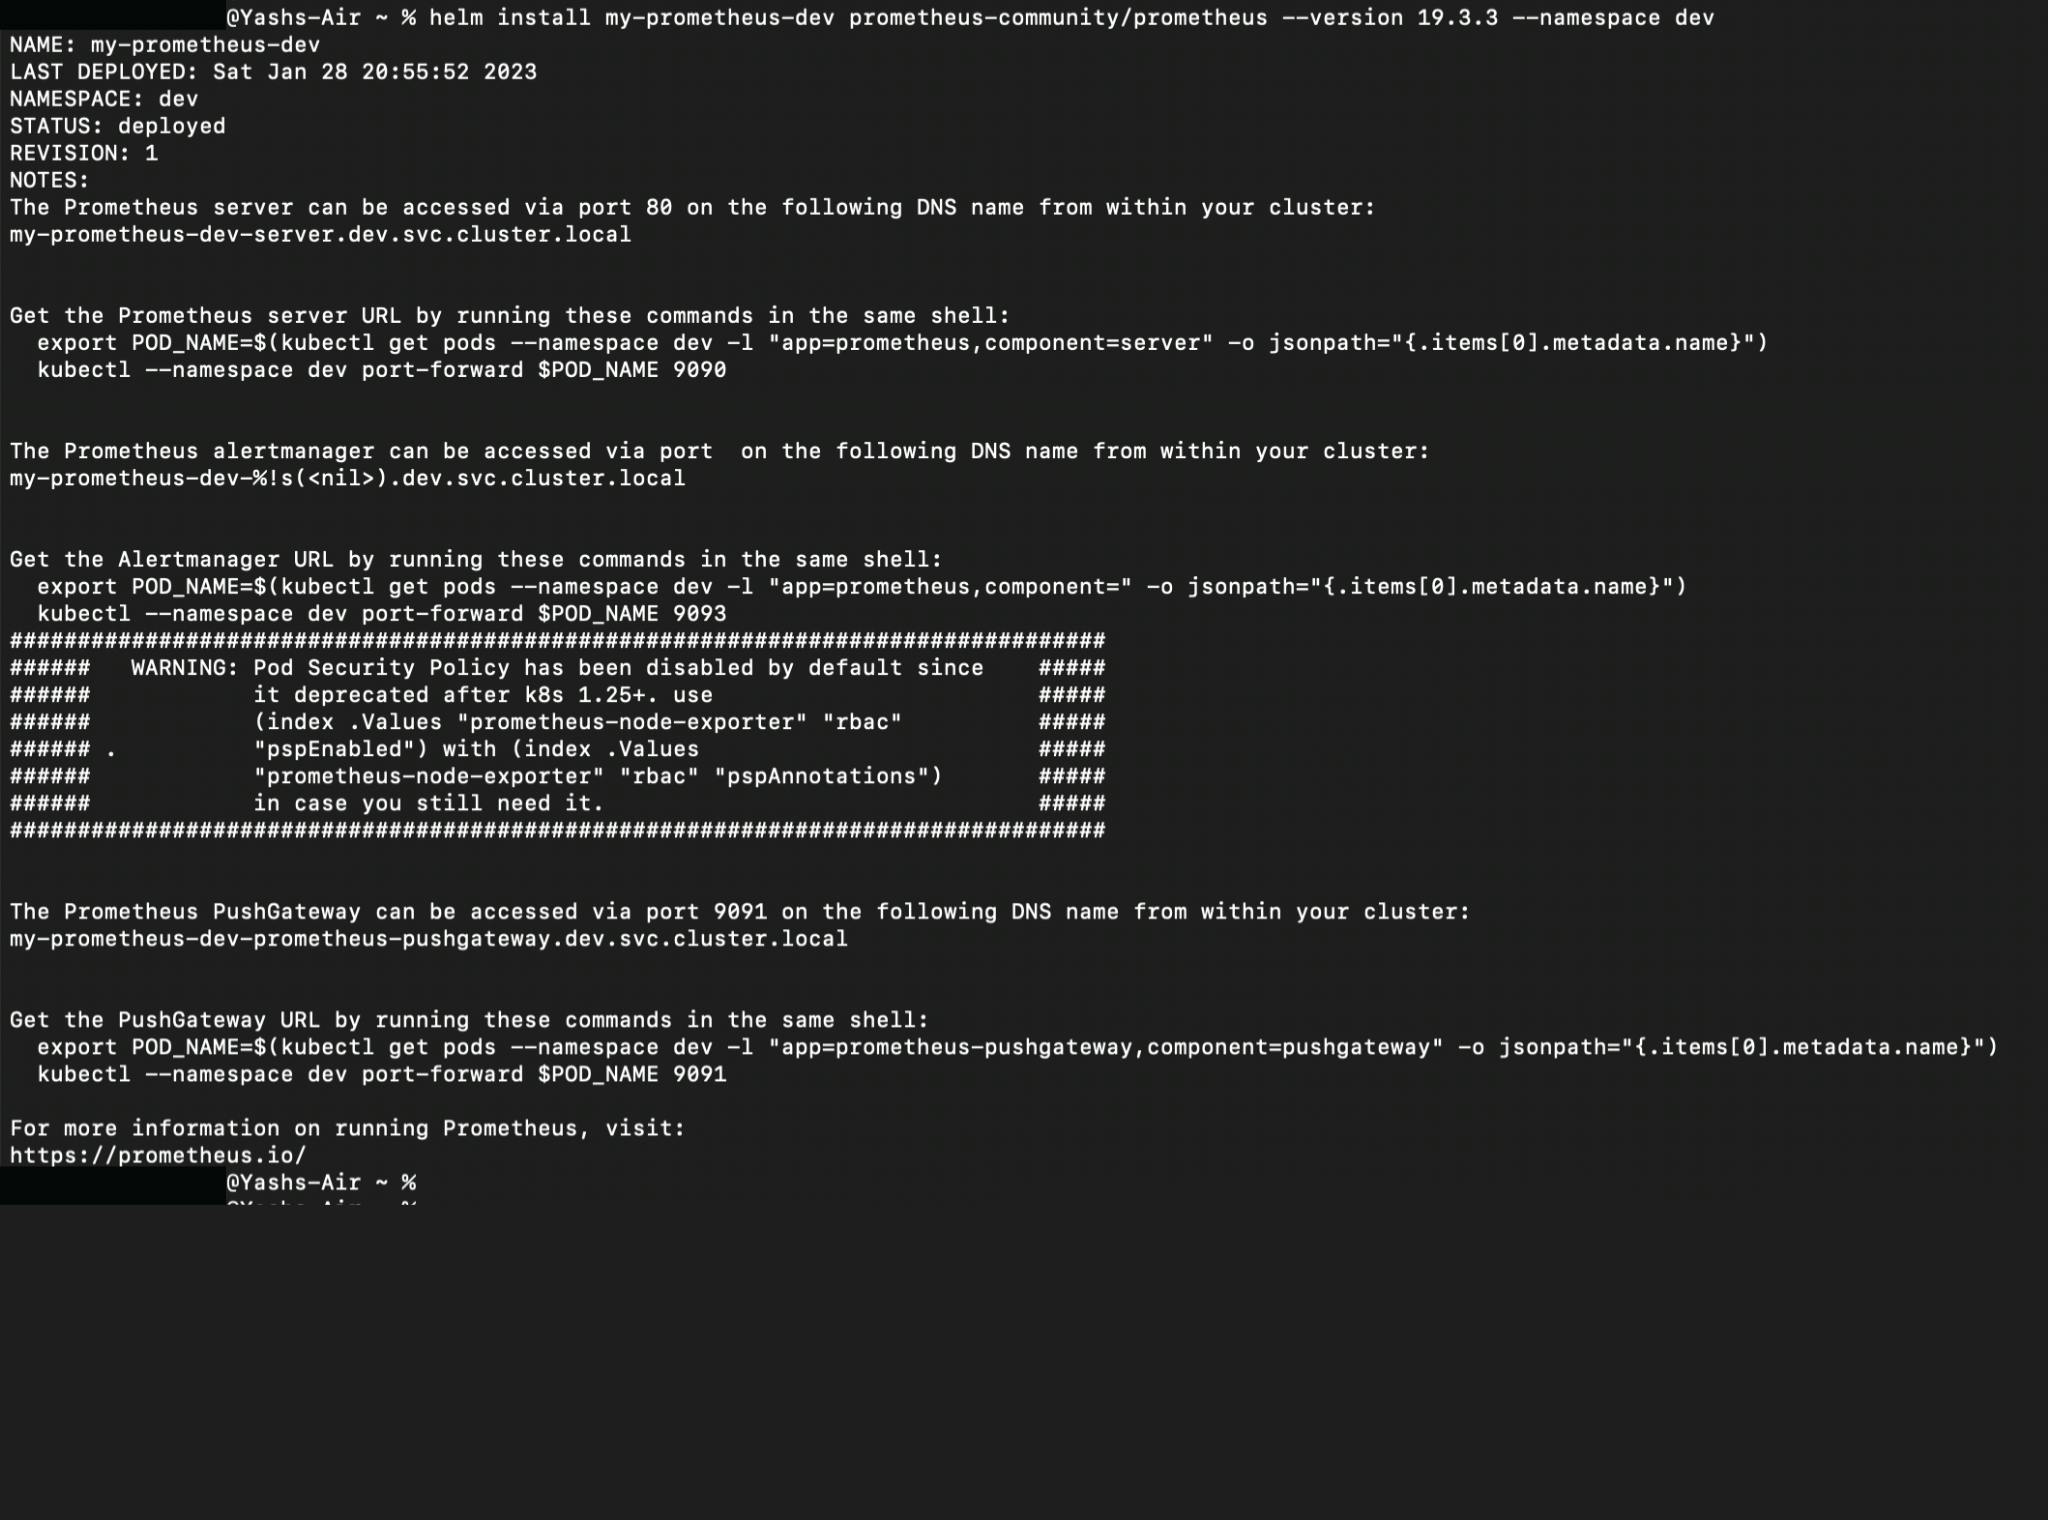

We can also upgrade our version using
helm upgrade my-prometheus-dev prometheus-community/prometheus --version 19.2.1 --namespace dev
here we are upgrading our my-prometheus-dev version from 19.3.3 to 19.2.1 under the dev environment
We can also check the history of a particular cluster such as my-prometheus-dev.
helm history my-prometheus-dev -n devwhere revision 1(19.3.3) has been superseded and revision 2(19.2.10) is been deployed.
we can also rollback to the previous version 19.3.3 using our terminal
helm rollback my-prometheus-dev 1 -n dev
we can also uninstall various clusters using
helm uninstall my-prometheus --keep-historycommand and the--keep-historyflags help us to track the history of my-prometheus cluster.
So here were some of the basic command use in Helm and there is much more in Helm to explore! In the upcoming blog, we will try to create our Helm chart and deploy it on Kubernetes.
For more exploration into Helm: Check out the official documentation of Helm.
That's all for now. If you have any questions, please leave them in the comments section and I will do my best to answer them. Thanks for reading. Any feedbacks are welcome!! :) Connect me on Twitter | Github
References:
How to Use Helm to deploy Helm Charts in Kubernetes: Practical Tutorial


